Homemade Face mask
-
To help you adjust to a new normality, Kirstie from our Education team has created this guide to make your own face mask at home.
What you will need
Cotton or poly-cotton
Thread
Needle or sowing machine
2 lengths of elastic
Clips or pins
Non-woven fabric eg. coffee filter, garden fleece (optional)
Pipe cleaner (optional)How to make your mask
STEP 1
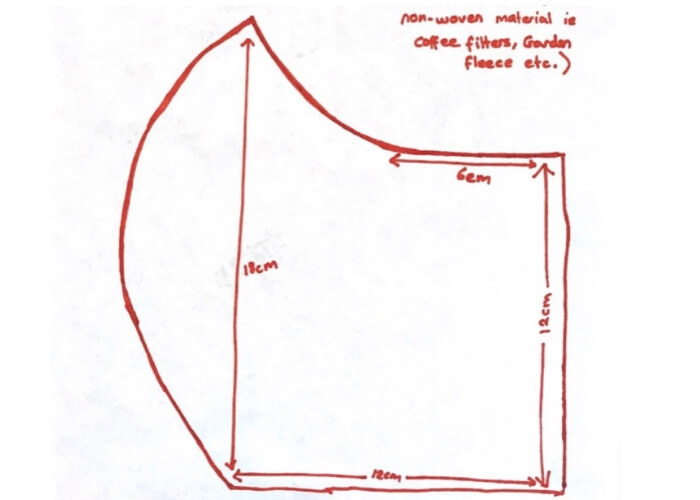
Print out the pattern below or construct your own. This size is good for an adult mask, so reduce as necessary if making a smaller mask or mask for a child.

Click to download the pattern STEP 2
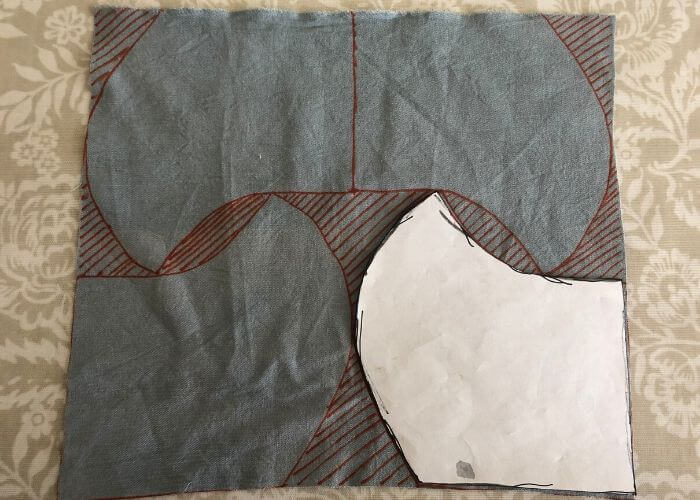
Cut out four of these panels from any material you have. Make sure that you cut the fabric so that the pattern will be on the outside of the mask (if it has a pattern). This will mean cutting two panels in one direction and two panels in the other as in the picture below. Just flip the template over to face a different direction.
If you choose to add the non-woven fabric layer, you should cut a further 2 panels of it.
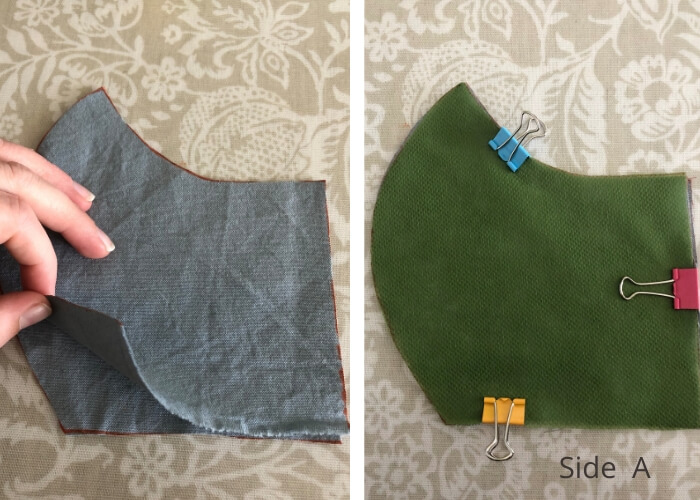
STEP 3
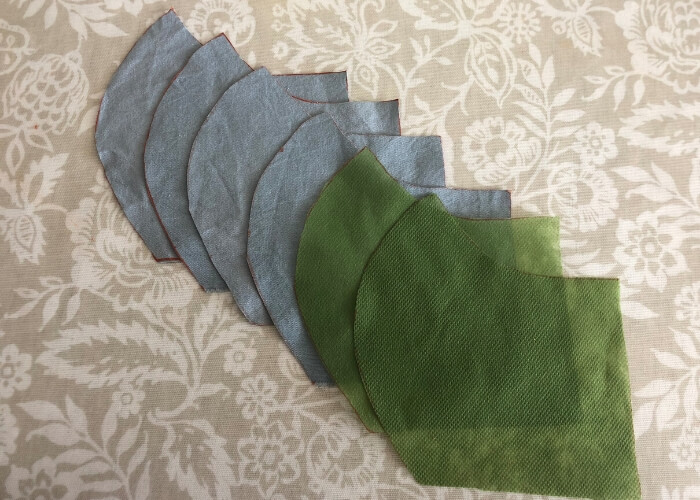
Layer your panels to make one side of the mask.
For the first side, layer them in this order:
a) Non-Woven Fabric
b) Cotton
c) Cotton
d) Non-Woven Fabric
For the second side, layer the remaining two cotton pieces on top of one another.
Then pin or clip the panels together (Side A)
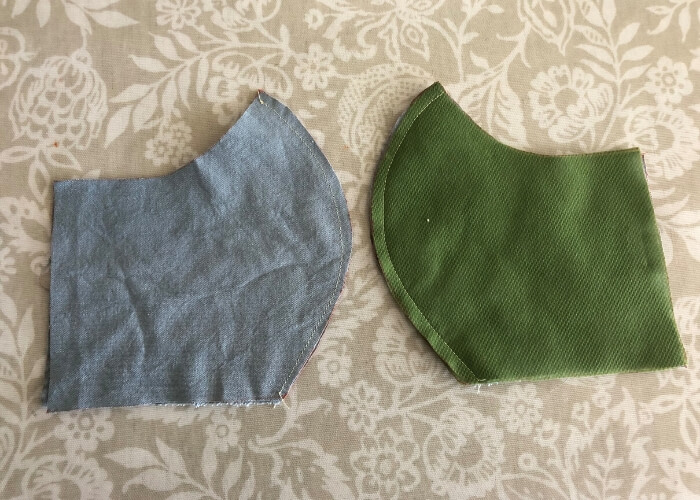
STEP 4
Sow a line down the large rounded edge of each side
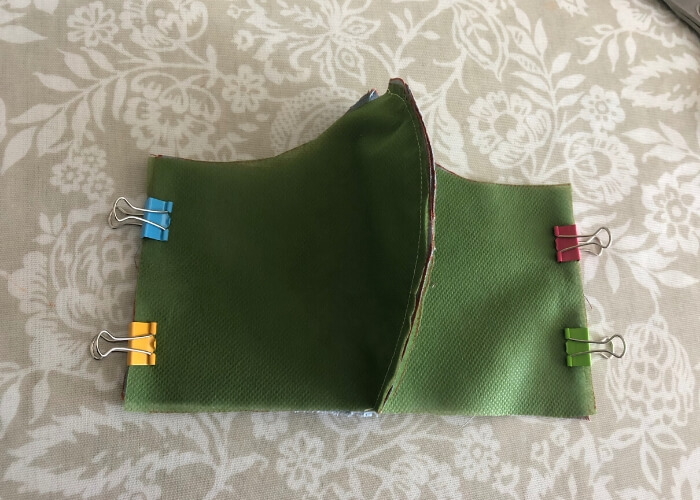
STEP 5
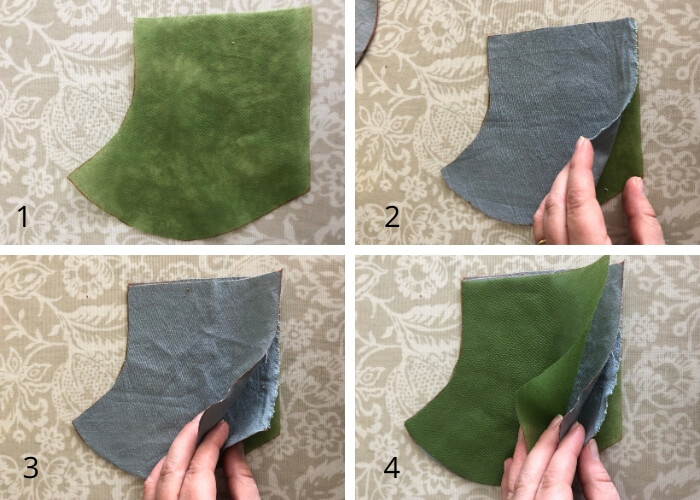
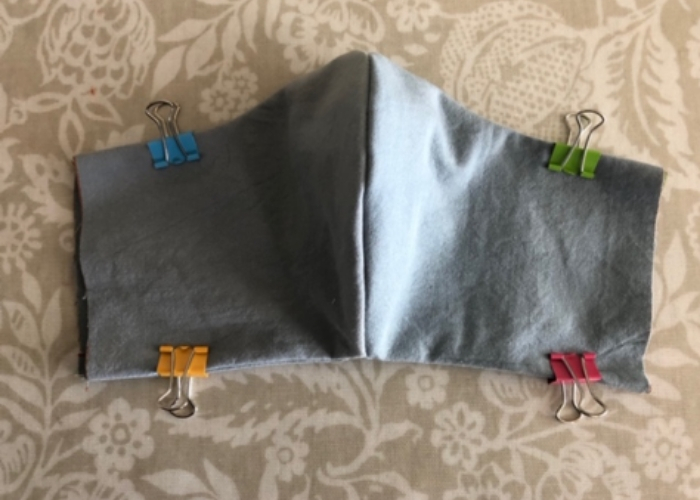
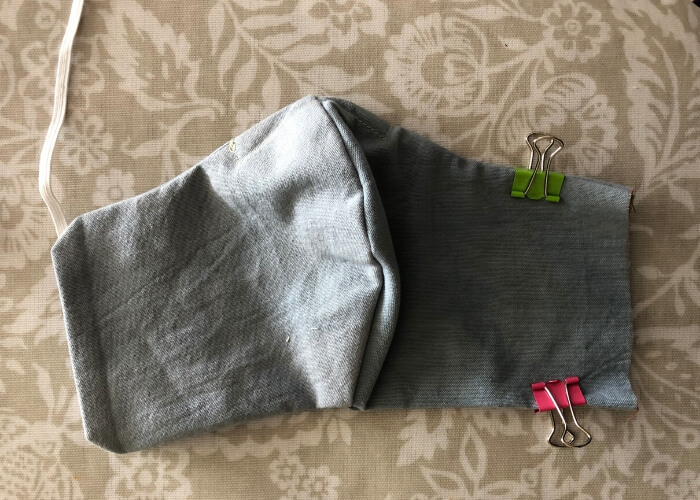
Now open up the sides and clip them so they're facing each other with the raw seam edge facing outwards on both sides.
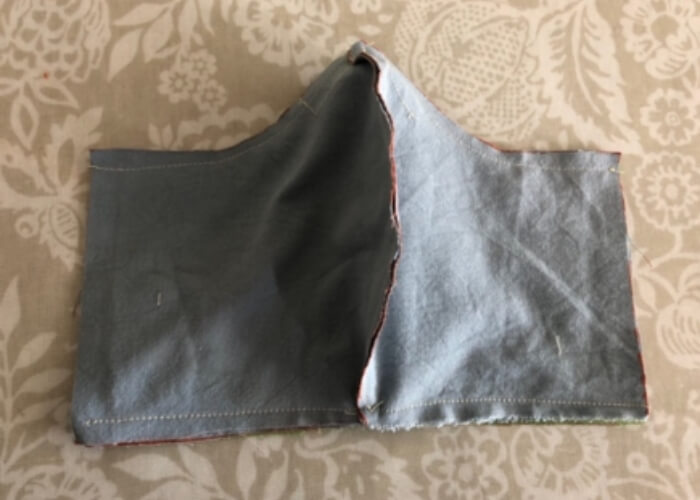
STEP 6
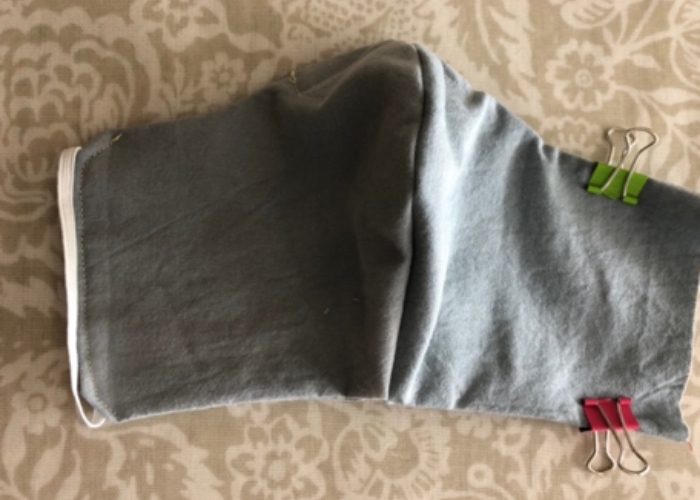
Sow a line across the top of the mask. This can be tricky around the peak of the nose part, so take your time.
Then sow a line across the bottom of the mask. (Below is how it looks from both sides).
STEP 7
Now carefully pull the mask inside out through one of the ends. I find using clips to hold the seams in place helpful after it has come through – but you could iron at this stage either to have the same effect.
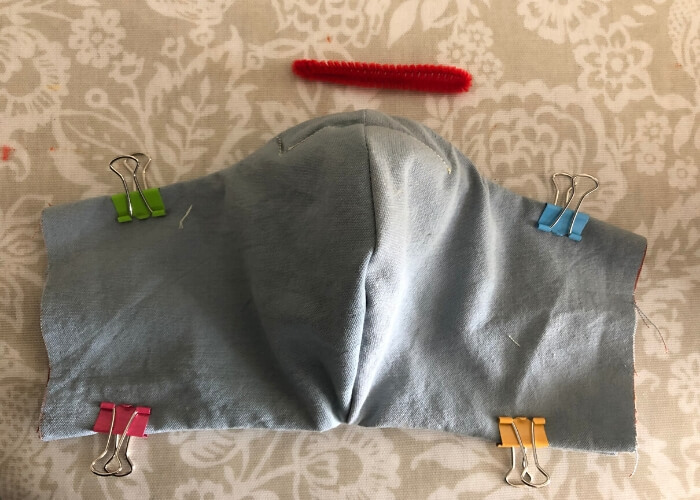
STEP 8 (OPTIONAL)
Sow a three-sided box at the nose part of the mask.
Measure a double strand of pipe cleaner and push in to form a moldable loop at the top of the mask.
Sow up the fourth side.
STEP 9
Cut two lengths of elastic 15cm long.
An alternative to this is attaching strips of material that can be tied around the back of the head, if you have no elastic.
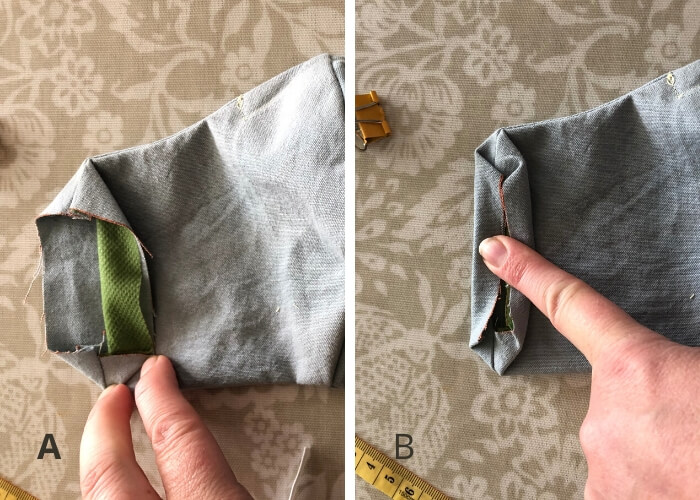
STEP 10
Take the open ends of the mask and fold them inwards as in the picture below and then fold in again. Ironing the folds at this stage can help keep them in place.
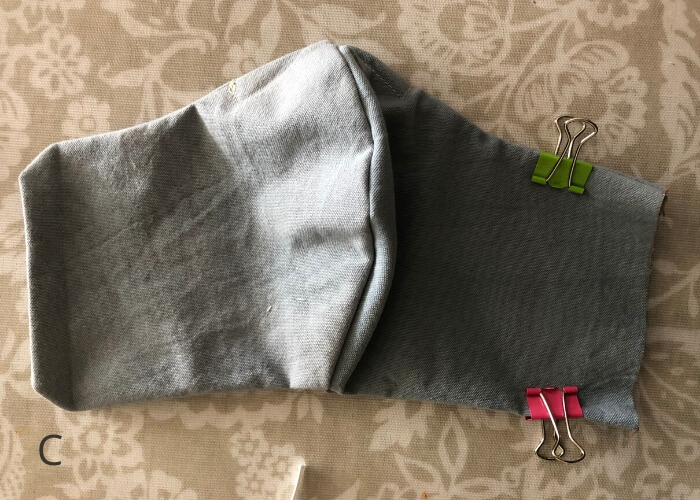
STEP 11
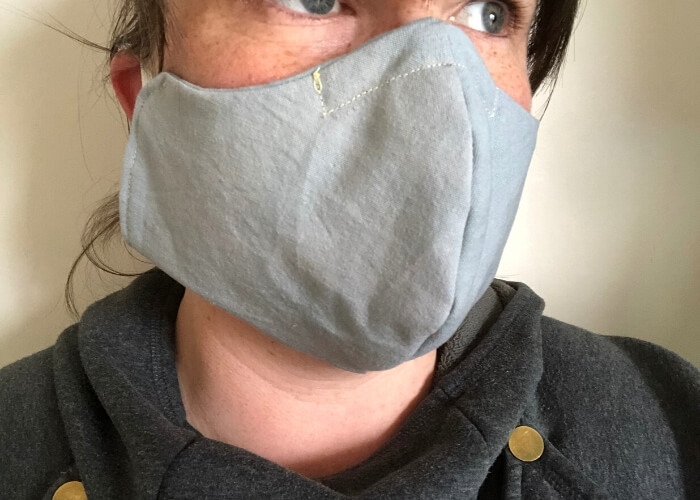
Place 1.5cm of one of the elastic lengths inside the fold and pin in place.
Sow a seam across the fold and elastic in order to secure and close the end of the mask.
Before finishing the seam, place the other end of the elastic into the fold and sow in place.
Repeat at the other end of the mask.